- Before ordering, please note that all our products do not include tax, you need to declare your own tax!
- If you need to send UPS/Fedex/TNT/DHL, please contact us. We need to discuss the freight with you.
- Technical questions e-mail:support@trianglelab.net
- Sales questions e-mail:sales@trianglelab.net
-
The trianglelab has always been concerned about product quality.We are developing products and working hard to improve the quality.We will not abandon our reputation because of many cheap products on the market.It is believed that only high quality products can ensure the quality of your work and bring safety to your work.
-
Some of our products may be more expensive than others,but please believe in our quality and believe that you will not regret when you receive the goods.
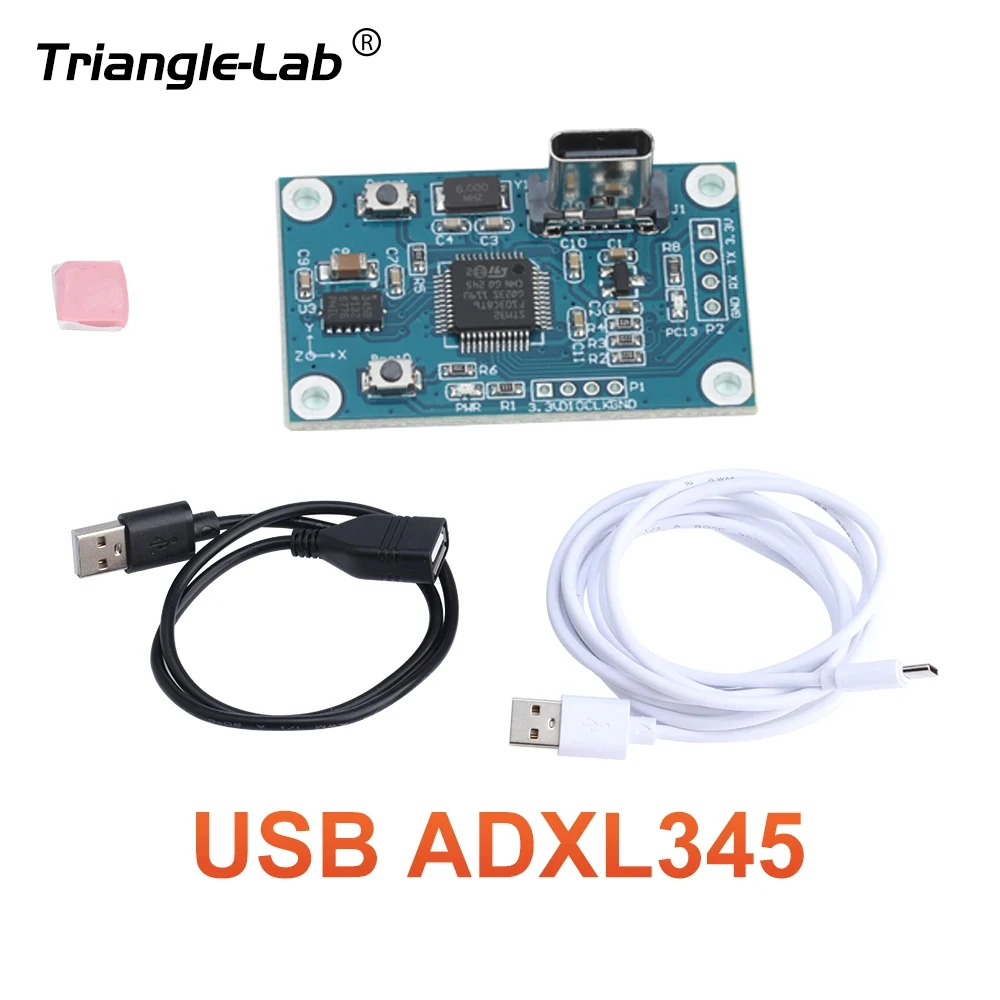
▉Name:
USB ADXL345
adxl345 for kilpper Input Shaper auto-calibration usb interface User friendly

▉Features:
1.Easy to use usb interface
2.Compatible with all klipper host devices
3.Adheres to any surface
4.Low sensor noise design
5.One for all printers
▉Documentation:
Please click here!
▉Technical Details:

▉USB-ADXL345 Board for Klipper: Installation Manual:
1. Connect the USB-ADXL345 board to the host where the Klipper firmware is installed (such as Raspberry Pi or Orange Pi X86 etc.) via the included USB type-c cable. As the Klipper firmware has been flashed to the kit before shipment, the LED of PC13 will light up.
2. Enter the command line of Klipper host device and execute the following command to find the MCU name of the newly connected USB-ADXL345 board.
ls /dev/serial/by-id/*
There will be at least two MCU names. stm32f103 should be the name of the newly connected board It should report something similar to the following;
/dev/serial/by-id/usb-Klipper_lpc1768_0C200115E11C3BAF4A98495CC22000F5-if00
/dev/serial/by-id/usb-Klipper_stm32f103xe_37FFDB054B52393576550543-if00.
3. Save the name of the reported USB-ADXL345 board MCU.
4. Create a new file named usb-adxl345.cfg in the same directory as printer.cfg
5. Add the following to the usb-adxl345.cfg file and change the MCU name below to the name you previously found.
[mcu USB-ADXL345]
serial: /dev/serial/by-id/usb-Klipper_stm32f103xe_xxxxxxxxxxxxxxxx-if00
[adxl345]
cs_pin: USB-ADXL345:PA4
spi_bus: spi1
[resonance_tester]
accel_chip: adxl345
probe_points: 100, 100, 20 # an example
NOTE: It is advised to start with 1 probe point, in the middle and slightly above the print bed.
probe_points: 100, 100, 20 # an example
6. Add one line to the printer.cfg file:
[include usb-adxl345.cfg]
7. Restart the Klipper service after saving the file. You are good to go. HERE
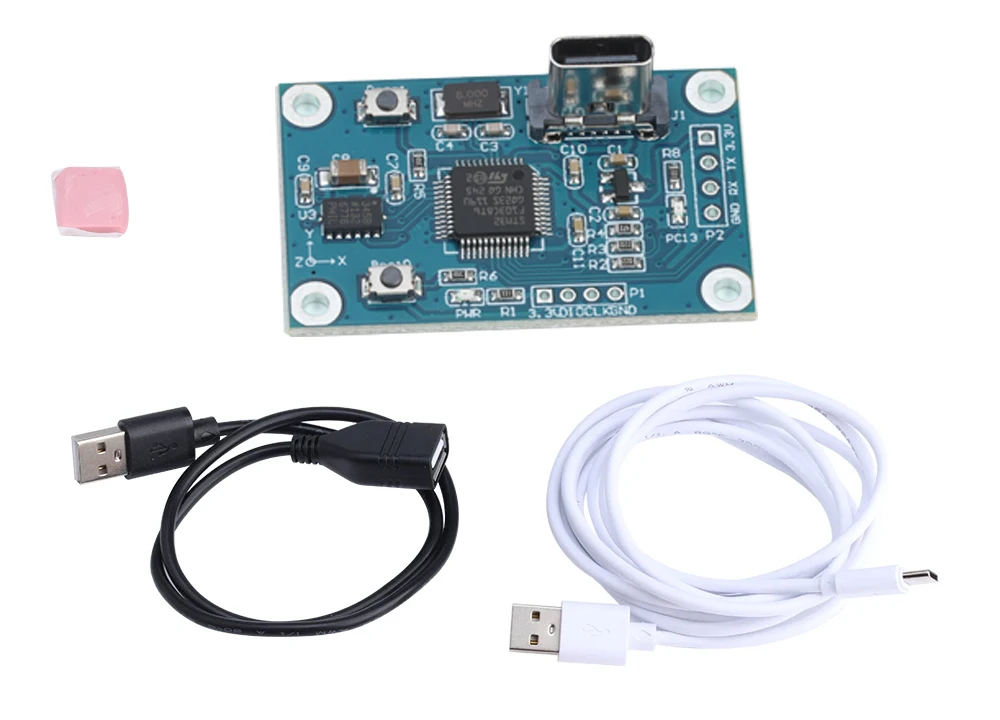
▉What's in the package?
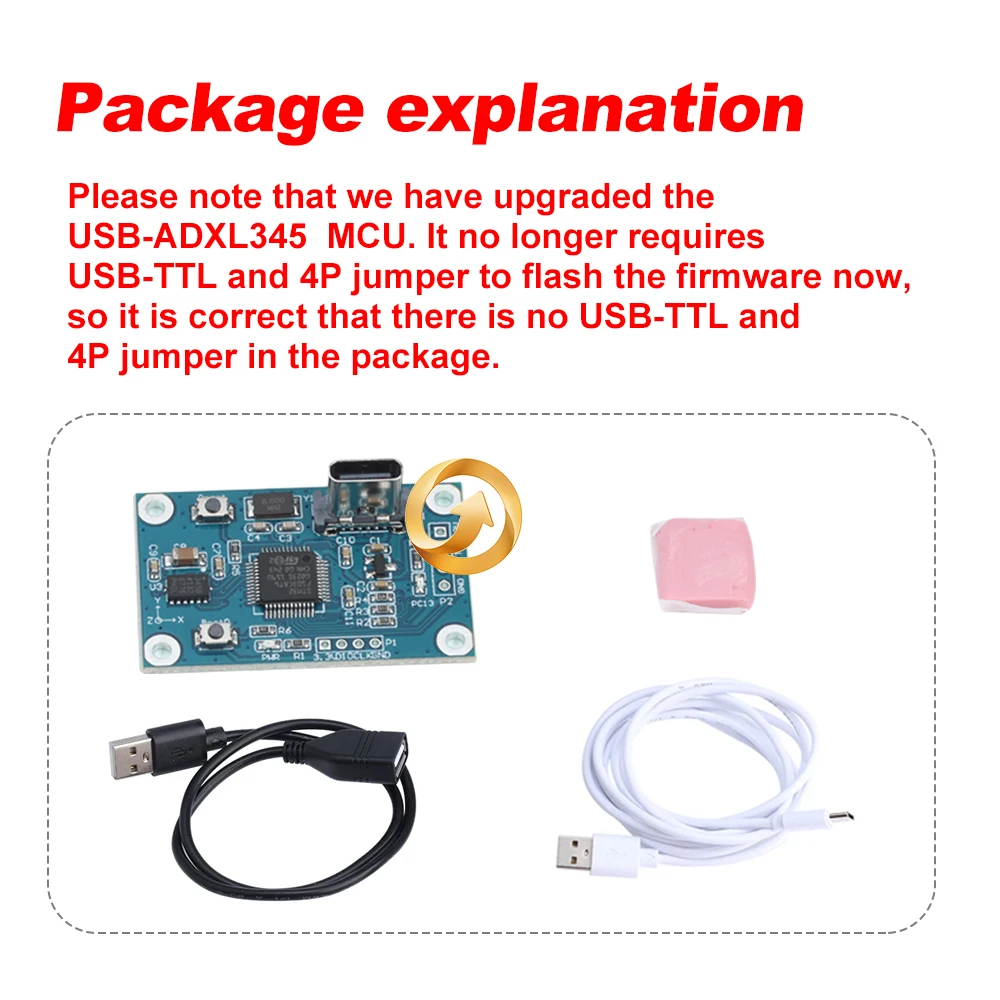
▉Package explanation
Please note that we have upgraded theUSB-ADXL345 MCU. lt no longer requiresUSB-TTL and 4P jumper to flash the firmware now,so it is correct that there is no USB-TTL and4P jumper in the package.
▉Display:


