- Before ordering, please note that all our products do not include tax, you need to declare your own tax!
- If you need to send UPS/Fedex/TNT/DHL, please contact us. We need to discuss the freight with you.
- Technical questions e-mail:support@trianglelab.net
- Sales questions e-mail:sales@trianglelab.net
- The trianglelab has always been concerned about product quality.We are developing products and working hard to improve the quality.We will not abandon our reputation because of many cheap products on the market.It is believed that only high quality products can ensure the quality of your work and bring safety to your work.
- Some of our products may be more expensive than others,but please believe in our quality and believe that you will not regret when you receive the goods.
▉File Links
GitHub - RobertLorincz/Orbiter-2-Smart-Sensor: Orbiter 2 Smart Sensor
▉Name:
Smart Fiament Sensor For Orbiter V2/V2.5
▉The main features are:
Filament auto-load
Filament tangle detection
Filament runout sensing
Filament un-load action button
▉Instructions
A push-fit collet clip for better PTFE tube locking with an RGB illuminated ring around, which indicates the filament sensor/extruder status:
▉Design Details
The design consists of an MJF printed housing, O2 sensor coupling, tangle ring, a small spring light ring, collet clip and the electronic PCB board, as shown in the figure.
The filament sensing uses a new end stop switch with longer lever movement; this helps avoid fake runout detections during fast accelerations. The sensor is pressed by the filament using a small 5.5mm steel ball. The main reason for itis to take the friction away from the sensor switch lever. The filament cannot destroy the steel ball due to friction, but it would grind down the plastic lever of the sensor in a short time.
Tangle detection works by pressing down the tangle ring, which engages the tangle detection switch. The tangle ring is pushed upward by the small spring.
When the force in the PTFE tube overcomes the spring force (which is approximately two kilograms), the detection switch is engaged, and a signal is sent to Klipper.
For this mechanism to work properly, the PTFE tube must be secured at the filament entry side as well.
The PCB is fixed from the bottom side of the sensor by a PCB retainer and a screw. This makes sure the PCB has no play and sits tight.
▉Sensor schematic details
The sensor consists of two end stop switches, one for filament and the second for tangle detection, and a tact switch for filament unload button. These signals are fed into a small microcontroller (ATtiny412) which primary function is signal debouncing filtering and conditioning. The micro also drives the two RGB LEDs, which illuminate the sensor input ring based on the filament presence and sensor state. The board is protected against reverse power supply connections and short circuits at the sensor output signals.
▉Smart sensor pinout
The sensor interface signals to the Klipper tool board are the same as for the previous sensor. The connector has four signals: GND, 3.3V (optional 5V), filament sense (FS) and unload/tangle (FTU) signals. The tangle and unload signals are multiplexed together to form a single signal, and the differentiation is done in the Klipper macro. When the printer is in the print state, the signal is considered filament tangle detection, and when it is not printing, it is considered the filament unload command.
▉Klipper Configuration
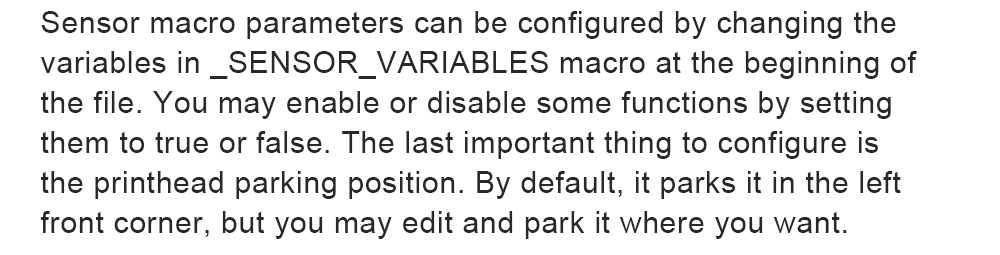
Connect the FS (filament sensor signal) pin and the FTU (filament tangle and unload signal) to spare digital inputs of your main board. The best is to use pins from spare pin headers or unused expander board connections. Supply the sensor board with +3.3V (optional 5V) and GND. Upload the sensor configuration file, Orbiter2_smartSensor. cfg to your configuration files as shown in the next picture:
▉Downloadable
All downloadable files are stored on the sensor Github repository. You can find them here.
Orbiter 2 Smart sensor Github repository.